WordPress is a content management system with undeniable functionality. It is free and offers many possibilities in terms of creating and managing websites. If you want to strengthen your WordPress site, or simply create a WordPress site, and be confident that it is reliable, install it locally. Installing WordPress locally is secure and allows you to have a copy of your site on your computer. More importantly, you can work offline! Want to know more about it? In this article, we offer a tutorial on how to install WordPress locally.
Is it useful to install WordPress locally?
By installing WordPress locally, you have several advantages, not the least of which are First and foremost, working locally will allow you to really test your work and fine-tune it before it goes live. Let's find out why it's a good idea to install WordPress locally.
Local installation of WordPress is easy and not bulky
The files that WordPress contains are mostly developed in PHP and its database is in MySQL. This means that in its initial version, WordPress is not very large (at most 50 MB). It is therefore easy to install locally on any computer. In reality, this package is downloaded as a zip file. Once the file is unzipped, itcan be used on Windows, Mac or Linux.
You do not have to install WordPress locally, that much is clear. However, local installation will be very useful if you are a professional who works online, but especially if you are a developer. With an offline WordPress site, you can learn more about the CMS and how it works. You will then be able to put in place ways to bring your own personal touch to it, whether it be in terms of functionality or in terms of design.
Installing WordPress locally is convenient
When you install WordPress locally, you don't need to buy hosting. Your computer's hard drive will host your WordPress site directly. You won't need a remote server. By using WordPress locally, you can easily create a website offline. This is despite the fact that you won't be using a web host. As soon as your local site is ready, you can transfer it to a server and put it online. Practical, don't you think?
Installing WordPress locally allows you to create a copy of the site online
The second big advantage of installing WordPress locally is that you can create a copy of your WordPress site online on your computer. What good will this do? Well, with an offline copy, you can make changes or tests, while the real site is online. You can safely add code, break or test. Your online site will not be interrupted or impacted in any way. This aspect of installing WordPress locally is especially useful when you are just starting out and want to build your site.
You have the possibility to create local fake content in order to perform all kinds of extreme tests. And this, with the aim of ensuring that the code of your WordPress site works like a good steel gear. For example, if you run an online e-commerce shop on WooCommerce, you can place a multitude of fake orders on your local WordPress. Or use FakerPress to create fake items.
By performing these tests, you will be able to more easily identify and remedy any flaws in your online site. In short, use your local WordPress site as a draft site of the version that is online before making changes to it.
Using WordPress locally is almost free and can be done without a connection
Working locally does not require the use of the Internet. Therefore, you can easily work in the countryside, on the plane, on the train, or in any other area where the Internet is not really accessible.
How to install WordPress locally?
To install WordPress locally, you will need to follow four main steps. These are installing a local web server, setting up the server, creating a database, and downloading and installing WordPress. Let's take a detailed look at these steps without further ado.
Step 1: Installing MAMP, XAMP or WAMP
The first step in installing WordPress locally is to create an environment, or localhost. This is done using a particular software program called " WAMP ". Remember that a localhost is what allows you to best run a website directly on your own computer.
There are several WAMP-type programs that are used to serve as local servers for the WordPress installation. These include XAMPP, MAMP, or WampServer. They are all available on Mac and Windows. However, the easiest to use is MAMP. MAMP provides all the tools you need to easily run WordPress on your computer.
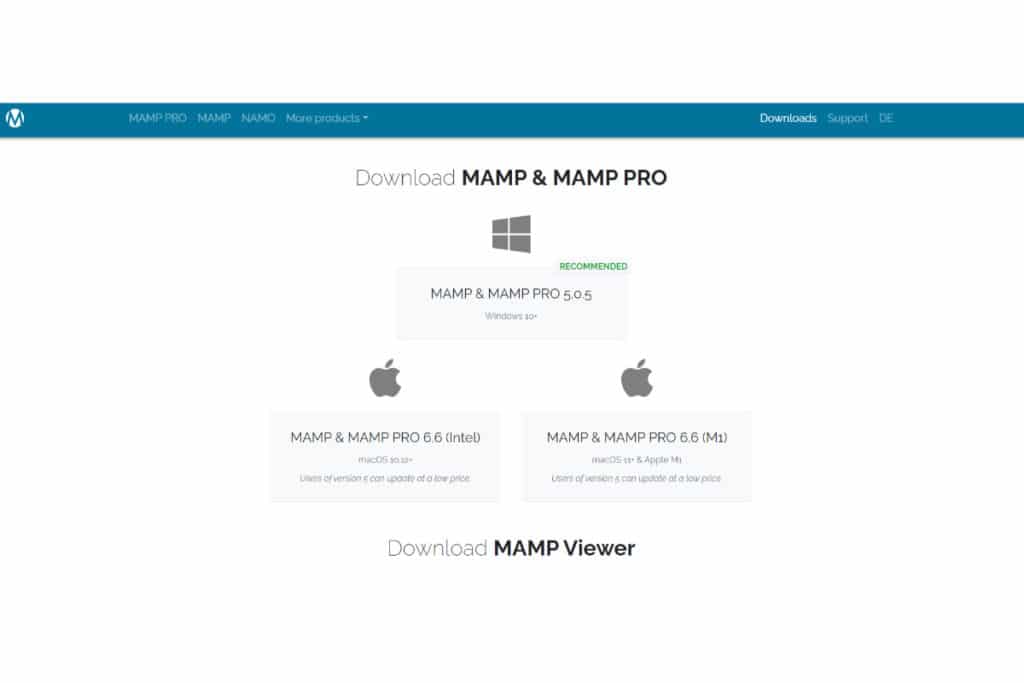
To do this, start by downloading MAMP (on Mac or Windows) from the official MAMP website. Depending on your operating system, you will download the appropriate version. Once the download is complete, double-click on the MAMP icon (it should look like MAMP _2.0.3.dmg). Then simply follow the steps to install the software.
Note that the steps listed above are the same as for Mac. However, the steps remain the same for Windows.
Step 2: Start the application and configure the basic MAMP settings
We explain these two points in detail.
Starting the application
Once the server software is installed, you need to start the application. To do this, you will need to go to your " Application " folder. Then select MAMP and click on its icon (MAMP.app). This will allow you to start the application.
The configuration of the parameters

After launching the servers, you need to configure the MAMP settings. When you do this, MAMP may require an administrator password. At this point it is important that you understand that MAMP runs two types of processes (Apache and MySQL). It is thus according to the parameters that you will have defined for each of these processes, that you will need or not to fill in a password.
In order to do this, you need to click on the "preferences" button, once you open MAMP, and then click on "Ports". The default MAMP port for MySQL is 8889. The one for Apache is 8888. When you keep this configuration as such, you will not be asked for a password. All you have to do is to include the port number in the URL. But in case you change the port number to another one(port 80 for Apache for example), you will still be asked for your password.
Finally, you must specify a document root (such as /Users/USERNAME/Sites/wordpress/) in the " Web Server " tab. It is from this document root that all these files will be assigned to your local web server. In other words, this is where your files will be placed so that you can access them on your local server. Once all the settings have been changed, save them by pressing OK.
Step 3: Setting up the servers and building the database
Once the application is started, the next action is to start the MySQL and Apache MAMP servers. How to do this? It is very simple! On the main screen of MAMP, press " Start Servers ". From there, the servers are started. As soon as the servers are started, you will see the MAMP start page in your default web browser. But if you want to make it simpler, you can just stay in the MAMP window and click on "Open start page".
Once the web page is open, you need to select "phpMyAdmin" which is located in the top banner. This is where you will create the database. This database will be used to store all the elements of your site. After selecting "phpMyAdmin", click on the " Database " tab. Then, in the Database name field , give a name to the new database you are creating. You can name this database "WordPress" for example. This is just an example. Just remember that the name of the database must be appropriate for your website. Finally, click on " Create ".
Step 4: Download and Install WordPress
This is the final step in the process of installing WordPress locally. So, once you have installed the local server, configured the basic settings, and created the database, it is now time to download and install WordPress.
Downloading WordPress
Start by downloading the latest version of WordPress from the WordPress.org website. Then unzip the downloaded archive (you will download it as an archive file). Then place the WordPress folder in the "htdocs" folder of the MAMP application. In your web browser, enter "http//localhost:8888". You will see the WordPress installation page open, with the option to choose a language. Select your language, then click on " Continue " and " Go ".
Installing WordPress
Following the previous step, you will see a menu with empty fields. You must fill these in for the WordPress installation to be effective.
The information to be filled in is the name of the database, the user name, the password, the address of the database and the prefix of the tables:
- for the username and password, you just have to put " root" . As for the database name, it is obviously the one you created beforehand in phpMyAdmin ;
- as for the database address, you will only have to keep the default information " Localhost ", since you are installing WordPress locally;
- For the table prefix, you just need to associate a prefix to the different tables that will be created during the WordPress installation. This information is actually really handy when you have more than one site hosted on the same database. But if you don't, you can just keep " wp_" (the default).
Once the fields are filled in, press " Send ", and then " Start installation ". Another page will open and will ask you to fill in some information necessary to manage the site. These are the title of the site, the password, the login, your email address and the visibility by search engines. This last point allows you to ask Google to make your site visible in the search results. But rest assured, since you will be local, Google will obviously not come and browse the files on your computer.
The last phase of the installation
After filling in the information, you will click on " Install WordPress ". A few moments later, the installation of WordPress will be confirmed on a new page. Yes, so many pages in this process 😉 ! All you have to do from there is log in with the username and password you chose earlier. And that's it, you're done installing WordPress locally and you can run it on your Mac!
In practice, you will see that these steps are not very complicated. Remember that these steps are the same as on Windows.
What is the second method to install Wordpress locally?
There is another way to install WordPress locally. It is not as well known as using a WAMP server, but it is even simpler. Indeed, it will be a question of proceeding to the installation of WordPress locally with " Instant WP ". The latter is an autonomous software, free and especially very complete. It allows you to install a WordPress environment that works as it should in just a few clicks, and above all that is very complete. So you don't have to worry about coding, programming or servering your site locally.
With Instant WP, you can develop your WordPress site on any Windows computer. You turn your computer into a development server for WordPress. But the best thing about this software is that you can also run it from a simple USB stick, without internet. Plus, you can install as many WordPress blogs as you want. The steps to install WordPress locally with Instant WP are fairly straightforward.
Step 1: Download the software and install the program
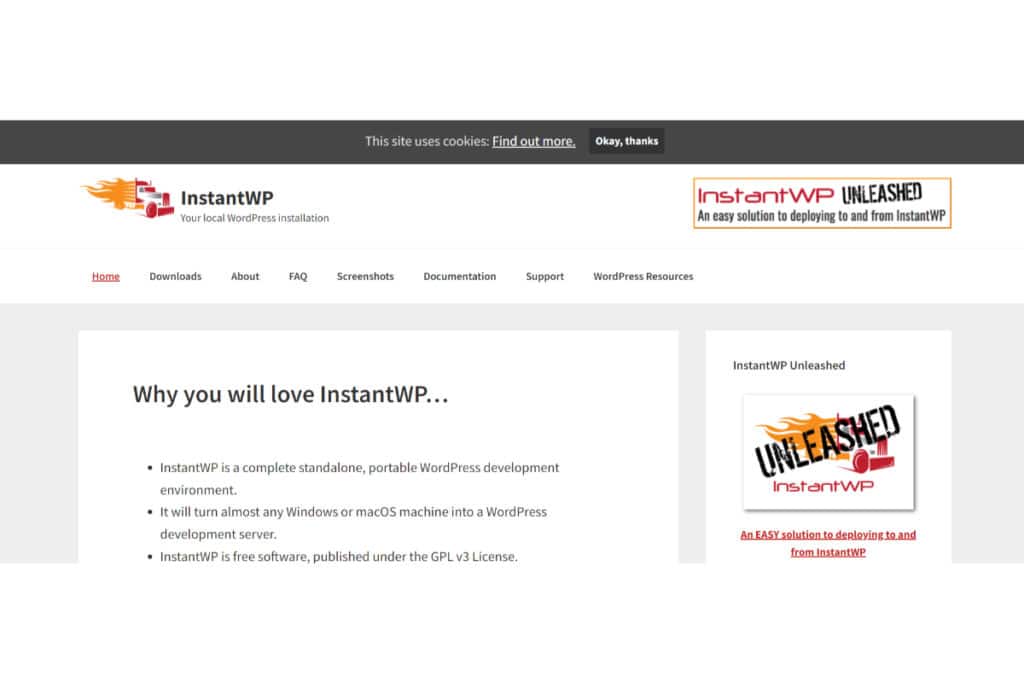
You will start by downloading your Instant WP software, which is about 56 MB. Download it to your hard drive by visiting the site. You will be able to download the appropriate versions for your operating system (Windows and Mac).
After downloading the software, you can proceed with the installation of the program. To do this, select the directory where the program is to be installed. This can be a USB stick or a disk that can be removed (removable). Once you have chosen the installation directory, click on " InstantWP.exe " to access the program.
The current version of InstantWP is 4.2. This version is composed of MySQL 5.1.46, PHP 5.3.2, Apache 2.2.15 and WordPress 3.3.2.
Step 2: Install and launch InstantWP
As soon as you download the software and the InstantWP console opens, it means that the installation was successful. You will be able to launch it and run your WordPress site from any browser. However, after installation,InstantWP may try to launch with IE when it starts. But this is not a problem, because with the local URL, you will be able to use the browser of your choice.
In addition, Instant WordPress comes with a few default pages or posts, traditional themes, and comments. However, to take advantage of the latest features of this software and to develop your local WordPress site safely, make sure you update regularly. And rest assured that updates are done without any difficulty. Instant WP is really easy to learn. So you'll have no problem learning how to use it.
How to install Wordpress locally: summary
In summary, there are two ways to install WordPress locally. The first is to use a localhost (such as WAMP) to create a WordPress environment. You then install the server, create a database and install WordPress on your computer. And that's it! The second option is to use the Instant WP software which is a very simple and complete solution to install WordPress locally.
So, which method do you plan to use to install WordPress locally? Which solution seems easier to you?