On WordPress, managing images is a major daily challenge. If you’ve been using this CMS for even a short while, you already know what I’m talking about. However, there are solutions (apps, software, plugins, themes, etc.) to help overcome these difficulties. These efforts can quickly come to nothing, especially if you don’t know how to regenerate the images in your gallery and their thumbnails. So you need to be familiar with the process, even if you don’t need to use it all the time.
Why Regenerate WordPress Images?
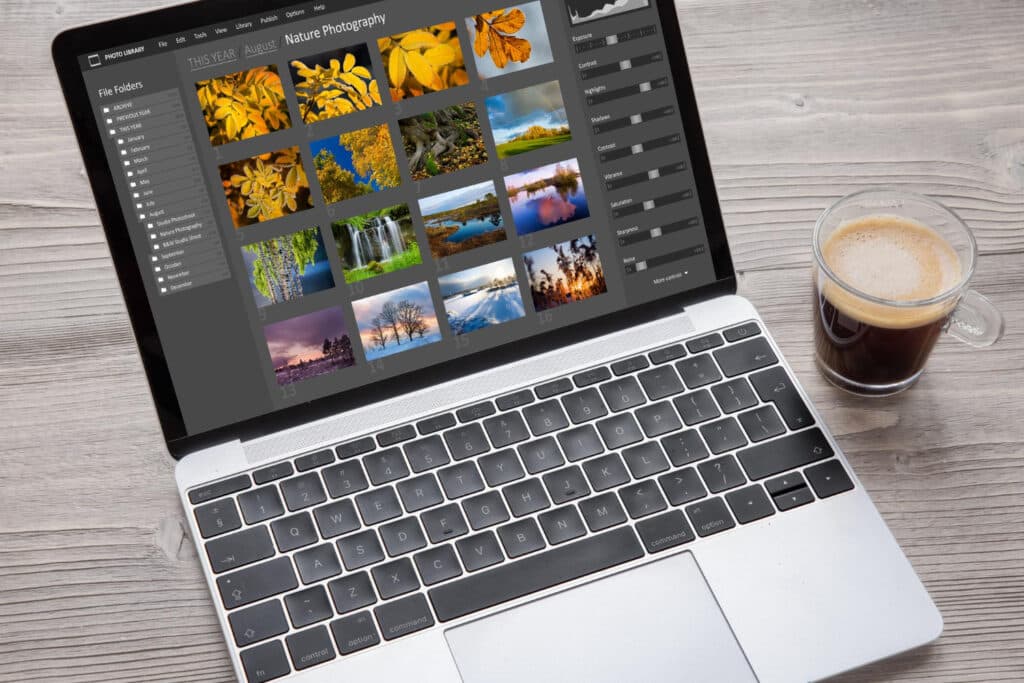
Basically, regenerating image thumbnails isn't a difficult task. You just need a little preparation. Regenerating thumbnails in WordPress involves deleting your images so you can recreate them in new sizes.
There are many reasons for this need. You may need to use a large number of images for your website’s content. These images may be the wrong size. When images are too small and scaled up using CSS, they can be a real hindrance for visitors, especially those using smartphones (Android or iOS).
It’s also possible that you’re displaying a reduced-size image (for phones and devices that use memory cards, for example) or a thumbnail when the source file is large and in a resource-intensive format, which not only unnecessarily increases the page’s load time but also wastes storage space. You might also want a theme that offers thumbnail sizes different from the ones you’re currently using. But there’s no need to worry about that.
The required native sizes for thumbnails on WordPress
You can manage WordPress's native image sizes. In fact, the system generates three different sizes in addition to the default size. This means that all themes can use them.
These are the default 150×150 thumbnail, the default 300×300 medium size, and the default 1024×1024 large size. Finally, the "Full" size is the same as the original photo you uploaded.
There are themes or plugins that, to accommodate their layout, may offer different sizes. Among these themes are those that come pre-installed with WordPress.
This is the case, for example, with TwentyTwenty. When it comes to plugins, page builders were the very first to use this technique. Examples include Elementor, Divi, and—in a different style—WooCommerce.
Can plugins generate their own image sizes?
Whether they’re themes or plugins like Elementor or WooCommerce, they all have a thumbnail manager and generate their own thumbnail sizes in WordPress. With that in mind, it would be easy to adjust the image sizes however you like.
To do this, you simply need to change the three default sizes that WordPress offers. To do so, go to your site’s admin panel, then navigate to Settings and then Media. A panel will then appear, and all you have to do is enter the dimensions you prefer in each menu for the size in question.
Under "Size," you can enter dimensions for the width and height. This is because not all images are square. You can even crop the images to prevent them from becoming distorted during resizing. Simply check the corresponding box.
Install the leading WordPress plugin for managing thumbnails
Even though you have made all the adjustments mentioned above, the old image sizes are still available. It is also clear that nothing is displayed regarding the new images you have created.
The reason is quite simple: the settings only apply to images uploaded after the adjustments have been made. So you'll have to take advantage of them one way or another.
This is especially true when it comes to the thumbnail regeneration process, since deleting the old thumbnails from the “thumbnails” folder doesn’t prevent new sizes from being saved in order to complete the process. To successfully perform this task, the go-to plugin on WordPress is Regenerate Thumbnails.
Reasons for Using Regenerate Thumbnails
In the official WordPress repository, there are many plugins designed for this purpose. Among others, we could mention ReGenerate Thumbnails Advanced by Short Pixel or WordPress Real Thumbnail Generator.
However, it is recommended that you use Regenerate Thumbnails, as this product is widely used by Internet users and has earned an excellent reputation among them. It also has the advantage of not creating anything in the database—neither a table nor a row in the options table.
This is a plus, since the plugin is all about performance. As a result, you can safely remove it as soon as you’re done using it, without worrying about damaging your site’s database later on.
How can you use Regenerate Thumbnails to achieve your goals?
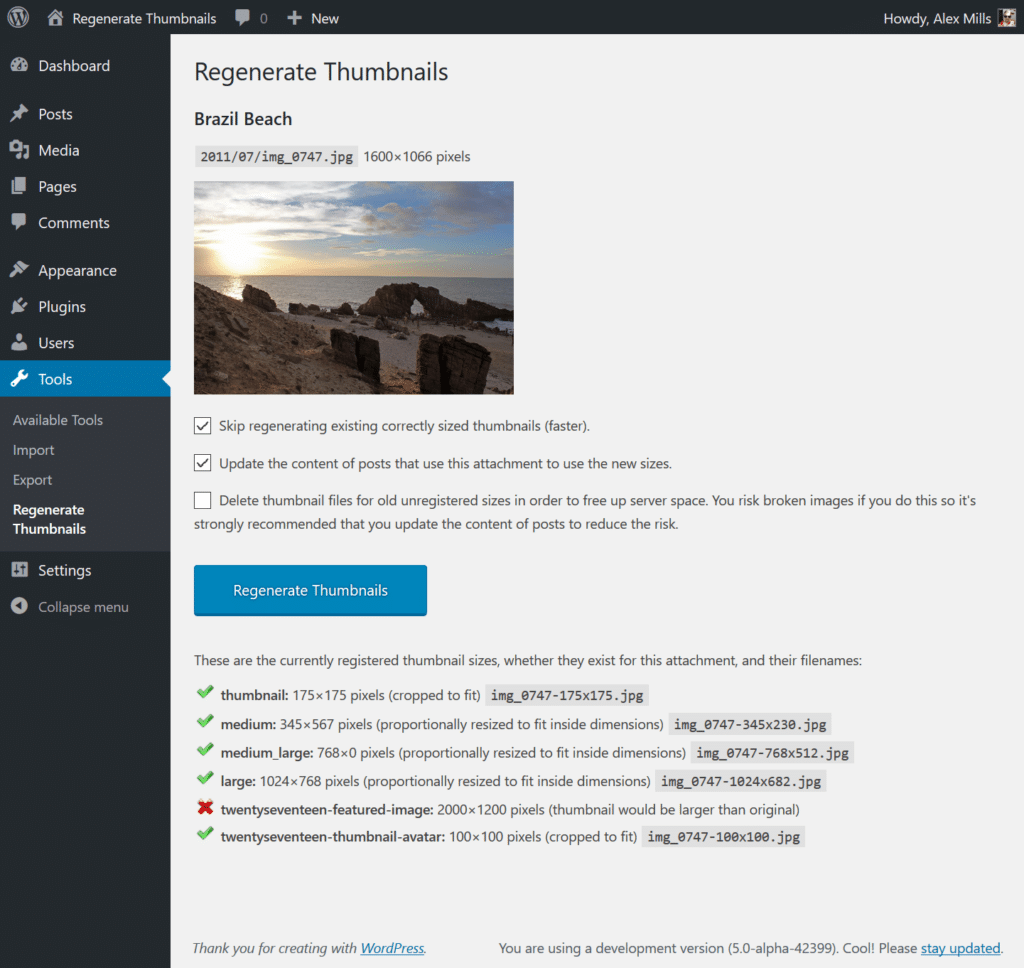
To regenerate your thumbnails with just a few clicks, go to the official directory or the Plugins section in your WordPress admin panel, then click “Add New.” Next, install the Regenerate Thumbnails plugin and activate it. Then, go to Tools and select “Regenerate Image Thumbnails.”
A panel will open containing all the information you need. To save time, you can check the first box. To delete the old sizes that you no longer need, check the second box.
Below the button to start the process, you’ll see an overview of all the sizes that will be processed during the regeneration. To ensure a smooth process, you should have named each new photo size correctly to achieve flawless results. To finish, click the blue button and wait for the process to complete. The time it takes often depends on the number of sizes to be generated.
Managing Thumbnails with WordPress: A Summary
As you can see, managing thumbnails isn't all that difficult. However, it does require a systematic approach and some preparation to achieve the desired result. This article has taken the time to address the issue in detail. This should enable you to do it successfully whenever you need to.