WordPress, the platform for creating websites and blogs, has become a must-have in the world of content development and management. Its ease of use and flexibility are largely due to its ecosystem of plugins. Extensions allow you to add additional functionality and customize a site to the specific needs of each user. In this article, we'll explore in detail how to create a Wordpress plugin, starting with the basics and progressing to distribution and maintenance, in order to provide you with a comprehensive guide to this exciting topic.
In the course of this article, we'll cover related topics and go deeper into some important aspects, helping you to enrich your knowledge and better understand the different aspects of plugin development for Wordpress. So, get ready to dive into the exciting world of extension creation with this detailed article!
Understanding the basics of a Wordpress plugin

What is a Wordpress plugin and why create one?
A Wordpress plugin is an add-on that extends the capabilities of your website. In other words, it is a piece of code that adds new functionality or modifies existing features on a Wp. Extensions are designed to integrate seamlessly with your site and work in harmony with the Wordpress core and other installed extensions.
There are several reasons why you might consider creating a plugin:
- Customization: You have specific needs that are not met by existing tools.
- Optimization: You want to improve the performance of your site by creating a custom plugin, lighter and adapted to your needs.
- Control: You want to have full control over your site's functionality and avoid depending on third-party extensions that may not be maintained or updated regularly.
The advantages of developing your own plugin
Developing your own Wordpress plugin has several advantages:
- Flexibility: You can adapt the plugin to your specific needs and make sure it works exactly the way you want it to.
- Security: By creating your own tool, you have full control over the code, which can reduce the risk of security holes or conflicts with other applications.
- Independence: You don't have to worry about compatibility with CMS updates or third-party tools, because you can maintain and update your tool yourself.
- Revenue: If your extension meets a market need, you can potentially sell it and generate revenue.
- Expertise: By creating tools, you deepen your skills in web development and Wordpress, which can allow you to position yourself as aWordpress expert and offer website creation services in France or elsewhere.

The structure of a Wordpress plugin
The structure is generally simple. Here are the key elements:
- Plugin folder: A folder containing all the files of the extension, usually named after the plugin itself.
- Main file: A PHP file that contains the basic information about the plugin (name, version, author, etc.) as well as the functions and hooks that define the extension's action fields.
- Additional files: Depending on the complexity, you may want to include additional files such as CSS, JavaScript, images, or PHP files to organize your code.
Prepare the development environment

Choose a code editor and the necessary tools
To start developing a Wordpress tool, you will need a code editor that suits your working style and will allow you to work efficiently. There are several popular code editors on the market, such as Visual Studio Code, Sublime Text and many others. Each of these editors offers different features, such as syntax highlighting, autocompletion, and integration with development tools. It is important to choose a code editor that fits your needs and comfort level.
In addition to a code editor, you will also need other tools to help you in the development process, such as :
- A version manager (e.g. Git) to track changes to your code and work as a team if necessary.
- A PHP debugger to identify and solve code problems.
- Specific extensions for your code editor that improve development support.
Set up a local test environment
It is essential to set up a local test environment to develop and test your tool before deploying it to a production site. A local test environment is an installation of Wp on your computer that simulates a web server. This allows you to work offline and test your creation without affecting your online site.
There are several solutions for setting up a local test environment, such as WAMP on Windows, MAMP on Mac or Local by Flywheel. Each of these solutions provides a web server, a database and a PHP interpreter, which are the key components to run Wp locally.
Master the required skills

To create an extension, you must have a solid understanding of the following languages and technologies:
- PHP: The main programming language. You must be comfortable with PHP syntax, functions and classes to create plugins.
- HTML: The markup language used to structure content on the web. You need to understand how to use HTML tags to create page elements and user interfaces for your tool.
- CSS: The style language used to control the appearance of HTML elements. You need to know the CSS selectors, properties and values to style the interfaces of your tool.
- JavaScript: The client-side programming language used to add interactivity and dynamic features to your plugin. You need to master the JavaScript syntax, events and DOM manipulations.
By mastering these skills as a Wordpress agency would, you will be well equipped to approach the development on Wordpress and to develop custom solutions for your website creation projects in France or elsewhere.
Create a Wordpress plugin step by step
Create the folder and the main file of the plugin
To begin, create a new folder in the "/wp-content/plugins/" directory of your installation. Name this folder after your tool, using lowercase letters and hyphens to separate words (for example, "my-tool"). Then create a main PHP file inside this folder, using the same name as the folder (for example, "my-tool.php").
Add plugin headers and basic information
Open the main PHP file with your code editor and add the headers to the beginning of the file. The headers provide basic information about your creation, such as name, description, version, author and author URL. For example:
<?php
/*
Plugin Name: Mon Plugin
Plugin URI: https://exemple.com/mon-plugin
Description: Une brève description de votre plugin
Version: 1.0.0
Author: Votre nom
Author URI: https://exemple.com
License: GPL2
*/
Create custom functions, action and filter hooks
Next, define custom functions that implement the features of your tool. Use hooks to integrate them into the operation of Wp. Action hooks allow you to execute a function at a specific time, while filter hooks allow you to modify data before it is used or displayed.
For example, to add a function that runs when the extension is activated, you can use the "register_activation_hook" action hook:
function mon_plugin_activation() {
    // Code à exécuter lors de l'activation du plugin
}
register_activation_hook(__FILE__, 'mon_plugin_activation');
Add options and settings for the plugin
To allow users to customize the behavior of your application, you can add options and settings. Use the Wordpress Settings API to save, retrieve and update your tool's options.

Create administration pages and user interfaces
For ease of management, you can create admin pages in the Wordpress dashboard. Use the Menu API to add menu items and create admin pages. In these pages, you can display forms to configure your plugin options and display information or statistics related to your extension.
Manage updates and compatibility
Make sure your tool is compatible with different versions of Wp and other plugins by following best development practices and testing it in different environments. Also be prepared to provide updates to fix bugs, add new features or improve the performance of your plugin.
Integrate advanced features
After mastering the basics of Wordpress, consider integrating advanced features to improve performance and user experience. Here are two notable examples:
- The creation of a sitemap, an XML file listing all the pages of a site, facilitates navigation and indexing by search engines. By integrating this functionality to your tool, you will help the owners of sites to optimize their referencing and their online visibility. To deepen the subject, consult our article " Create a sitemap, complete guide".
- Server Side Tracking is a method of collecting and processing user data directly on the server, offering benefits in terms of performance, security and compliance with data protection regulations. By integrating it into your plugin, you will provide a more robust and reliable data tracking solution. To learn more, see our article " Server Side Tracking, the Ultimate Data Solution".
Testing, debugging and optimization of the plugin

- The first phase, testing, involves evaluating the extension in different environments and configurations to confirm its compatibility with various CMS versions, themes and other extensions.
- The second phase, debugging, consists of resolving any errors or compatibility issues that are detected. This can be done with PHP debugging tools, such as Xdebug, and by analyzing browser error logs.
- The final phase, optimization, aims to improve code and performance. This involves minimizing resource usage, reducing the number of HTTP requests, using caching techniques, and revising code to eliminate inefficiencies.
Distribution and maintenance of a plugin
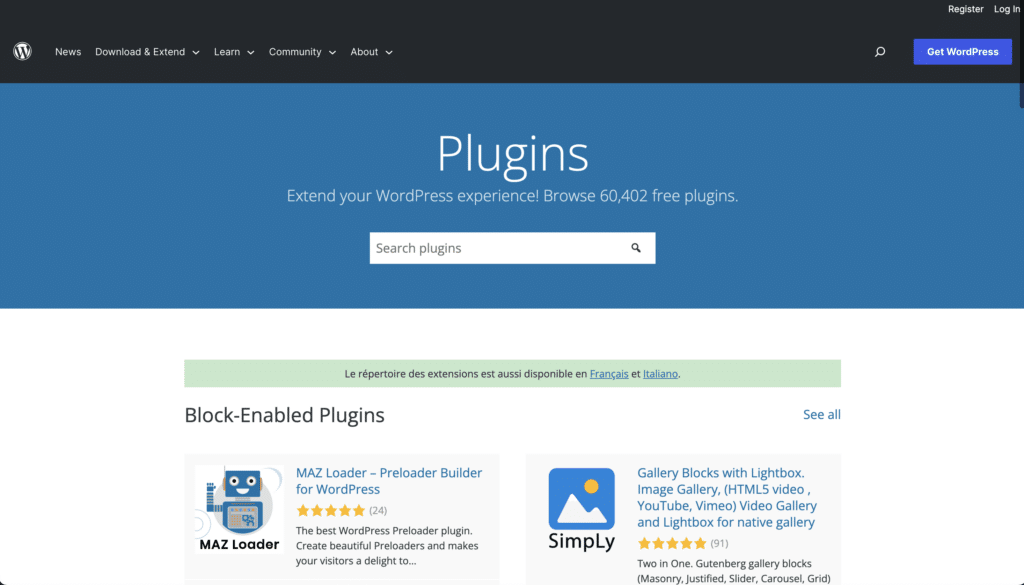
After the testing and optimization phase, the deployment of your tool starts with its registration in the official Wordpress library, making it easier for users to discover it. It is crucial to respect the registration recommendations of Wordpress to ensure the compliance of the tool.

Once online, regular maintenance and updates are necessary to ensure compatibility with new versions of Wordpress, fix bugs and integrate features. It is important to stay informed about the Wordpress ecosystem and to perform regular tests.
In conclusion, the main lines of development
In this article, we've gone over the key steps to creating a plugin, from understanding the basics to distribution and maintenance. By following these tips and building your development skills, you can create custom plugins to meet the specific needs of your site or clients.
So, don't hesitate to start developing Wordpress plugins and explore all the possibilities offered by this flexible and powerful platform. Good luck and good coding!


